


These are instructions on how to root Motorola Moto G (2015) using the TWRP recovery on Windows Computer.
Requirements Your smartphone should have at least 20-30 percent of battery to perform the rooting process.
Root Motorola Moto G (2015)
- Follow the step-by-step instructions to unlock bootloader on your Motorola Device.
- Once you have successfully unlocked the bootloader on Motorola Moto G (2015), then you need to install custom recovery (i.e TWRP or CWM recovery). For that you have to connect your device to the computer first then follow the below steps.

- Download SuperSU (latest) and move it to the root of the Phone SD memory.
- Download and install the Minimal ADB and fastboot Tools on your computer.
- Download TWRP recovery (v2.8.7 tested working) on your computer and rename it to recovery.img.
- Now, move the TWRP recovery file to the Minimal ADB and Fastboot folder (i.e C:Program FilesMinimal ADB and Fastboot).

- Now, Open MAF32.exe or py_cmd.exe from the Minimal ADB and Fastboot folder.

- Give the Following Command: adb devices
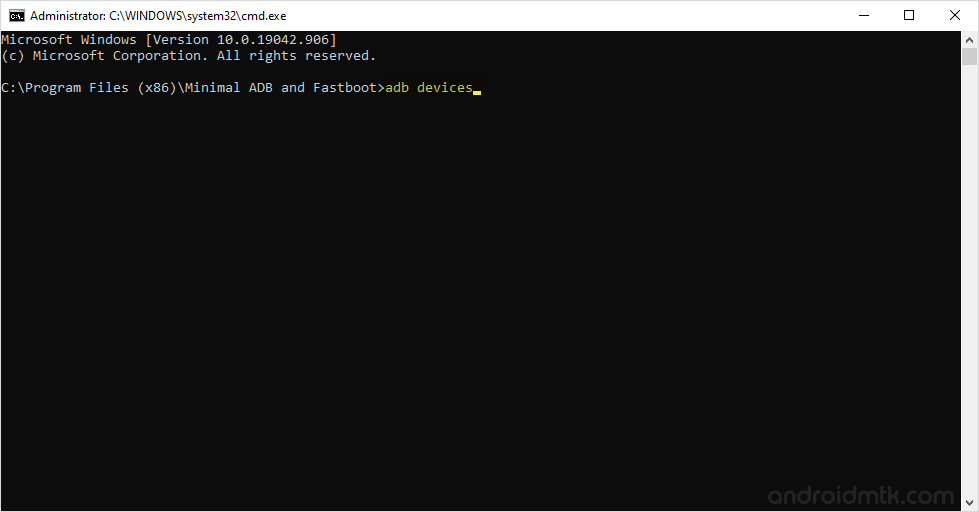
The above command helps to know the list of attached devices to the computer.
- Now, Give another command: adb reboot bootloader
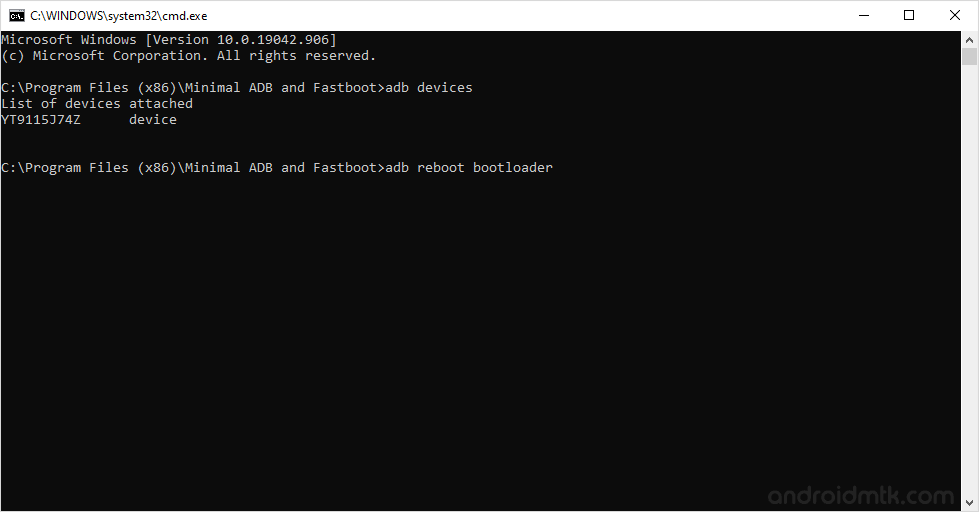
The above command helps you to boot into the adb mode.
- Now, give another command: fastboot flash recovery recovery.img
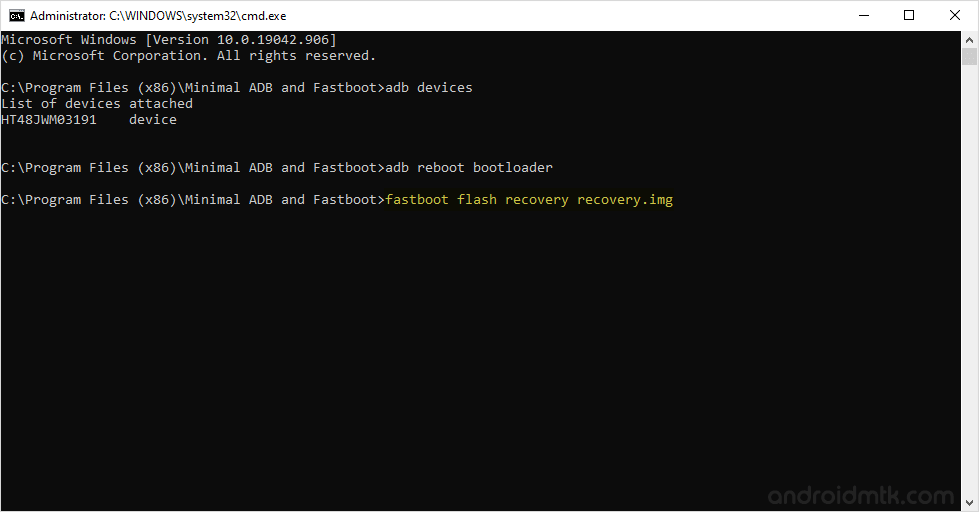
- Now, TWRP recovery will be installed on your phone and you will be able to see some process on your Device screen.
- Now, you need to boot into the ADB mode. To boot into adb mode, Press and hold the Volume Down Key and Power Key (for 4-5 seconds) and release the power key but keep holding the Volume Down key until ADB mode is visible on the screen.
- Once you have booted into the ADB mode, Select Recovery (use volume down for scrolling and Volume Up to select).
- Once you have booted into the TWRP recovery mode, Tap on the Install and select the SuperSU package that you have moved to the Phone SD in Step#3.

- Now, reboot your Device from the TWRP recovery.

- Once your Device is restarted you will be able to see the SuperSU icon in the Menu. Which confirms that you have successfully rooted your Motorola Moto G (2015).

Optional You can also verify the root status of your device by using the Root Checker Application.
Notes
No data loss process: Your data including contacts, pictures, videos, music wont be affected using the above method. In short, no data loss process.
How to remove Unlocked Bootloader Message If you have unlocked the bootloader on Motorola Moto G (2015), then you might be getting Unlocked Bootloader message when you restart your device. You can disable or remove this message by following how to remove unlocked bootloader message on Moto G (2015).
Motorola Stock Firmware: If you are looking for the original firmware for your device, then head over to Download Motorola Stock Firmware page.
Motorola USB Driver: If you are looking for the original USB Driver for your device, then head over to Download Motorola USB Driver page.
Big thanks to Chainfire for their SuperSU file for Motorola Moto G (2015), without this tool the above tutorial was not possible.

