


These are instructions on how to root the Android Devices (running between Android 2.2 to Android 4.3) using the vRoot Application.
Requirements Your Android Device should have at least 20-30 per cent of battery to perform the rooting process.
How to use vRoot to root any Android Device
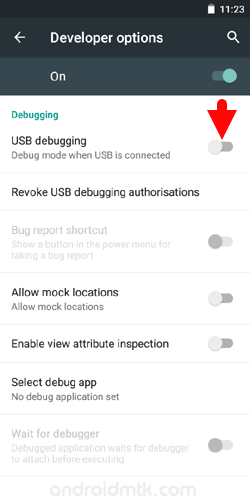
- Enable USB Debugging on your Android Device. To enable the USB debugging Open Settings > Developer Options > USB Debugging > Tap on the Checkbox to Enable it.
- Download and install the vRoot Application on the Windows Computer. Once the installation process is completed, Launch It.
- Once the vRoot Application is launched, Connect your Android device to the computer.
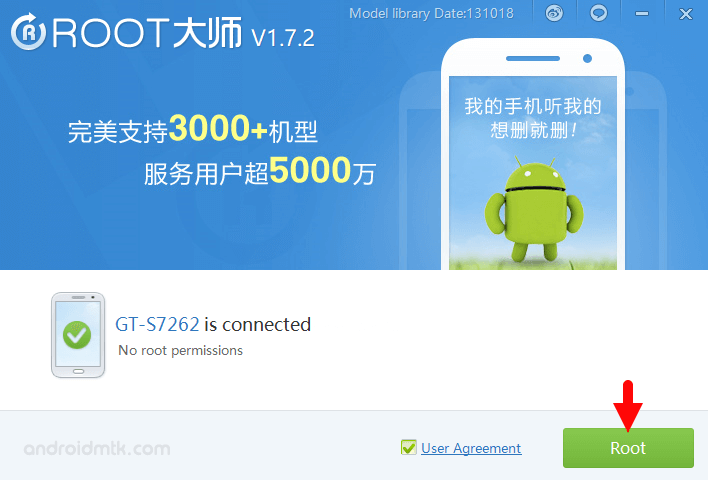
- Once the Android Device is connected to the computer, vRoot will automatically detect it.
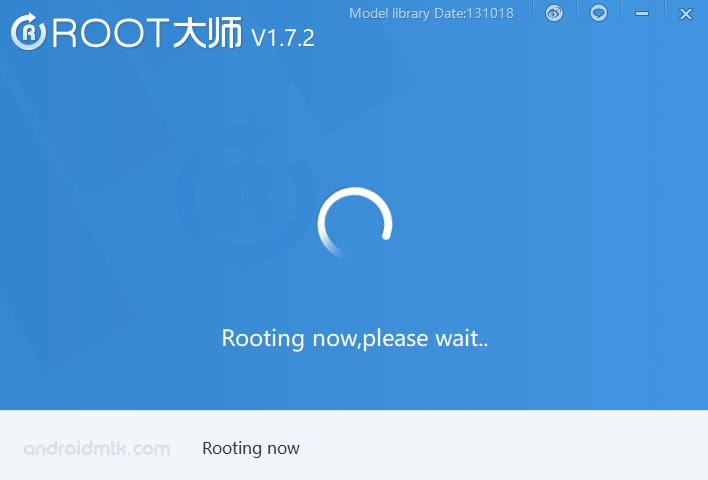
- Click on the Root button to begin the rooting process.
- Now, vRoot will automatically Reboot your device.
- Once the Rooting process is completed, you will be able to see the Success Message at the End.


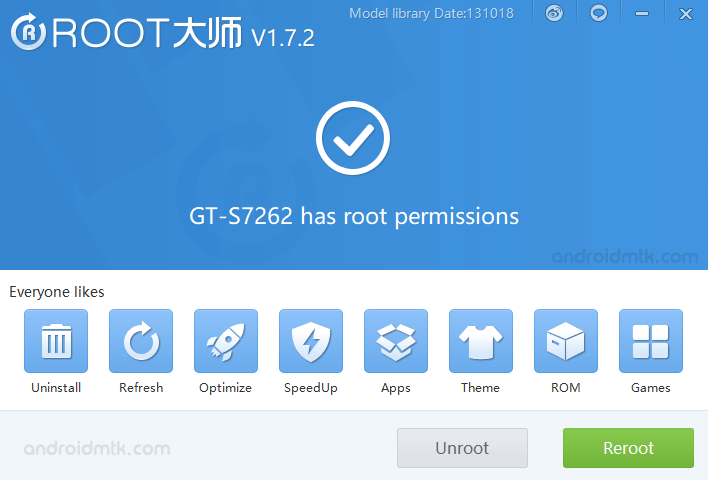
Congratulations! Your Android Device is now Rooted. You can also verify the root status of your device by using the Root Checker App.
Notes
Supports vRoot allows you to root more than 8000 android devices. In case you want to see the list of the supported devices, then click here.
iRoot Application vRoot Application is now re-branded as iRoot Application. If you wish, you can download it from here.
Alternative Application If you are looking for an alternative Root Application, then don’t forget to check out our One-Click Root Application Section.
Credits: vRoot is created and distributed by Shenzhen (Developer), so full credit goes to them for sharing the Application for free.

