These are instructions on how to root Samsung Galaxy Ace 2 GT-I8160 (running on android 2.3.6) using Kernel file in Odin.

Requirements: Your Samsung Galaxy Ace 2 GT-I8160 should have at least 30-40 percent of battery to perform the rooting process.

Root Samsung Galaxy Ace 2 GT-I8160 (Android 2.3.6)

Step 1: Download and Install Samsung USB Driver on your computer. If in case, Samsung USB Driver is already installed on the computer then SKIP this Step.

USB Logo

Step 2: Download and extract the root files on your computer. After extracting you will be able to see the following files:

i8160 root files

  • Now, Copy Update_su.zip file to your Phone SD Card memory.

    i8160 supersu

  • Power Off your Samsung Galaxy Ace 2 GT-I8160.

    PowerOff Samsung Galaxy Ace 2 GT-I8160

  • Now, you have to enter into Download Mode on your phone by Pressing Volume Down Key, Home Button and Power key at same time for 5-8 seconds until you entered to the download mode.

    Download Mode on Samsung Galaxy Ace 2 GT-I8160

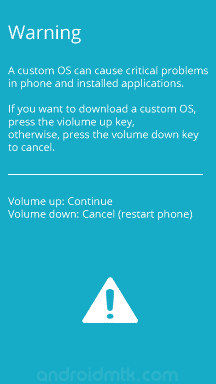
    Step 6: In the Download mode you will be able to see a Warning Triangle Sign. In this situation you have to press the Volume up key to continue.

    Samsung Galaxy Ace 2 GT-I8160 Warning Sign

  • Now, Open Odin3 (found in the extracted folder, that you have downloaded in the Step#2) on your computer. Then connect your phone to the computer.

    i8160 Odin Files

  • Once you have connected the phone to the computer, Oden will automatically recognize the device and show “Added” message at the lower-left panel.
  • Samsung Galaxy Added Odin 3.07

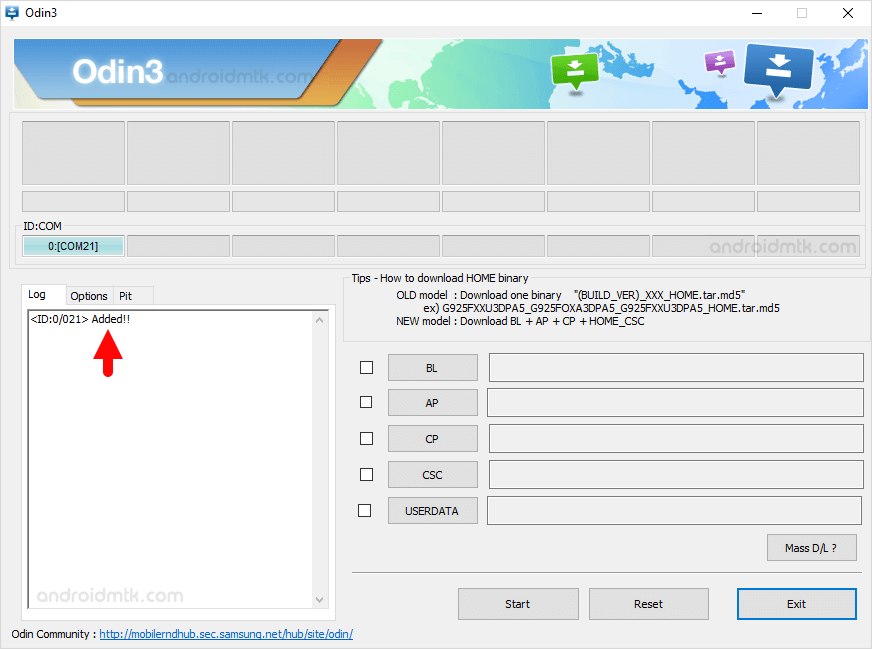
    Step 9: Once your device detected by Odin, click on the PDA button and select the I8160XXLD8_Ready_To_Root_ANT.tar.md5 file (you have extracted this file in step#2).

    Add PDA Samsung Galaxy Ace 2 GT-I8160 Added Odin 3.9

    i8160 pda files

    Step 10: Now, click on the Start button in odin to begin the Flashing. Once flash process is completed your phone will restart automatically.

    Start i8160 root

  • Once you see, the Green Pass Message then remove the USB cable from the device (during this process, your device will restart automatically).

    Samsung i8160 rooted

  • Now, Disconnect your device from the USB cable and make sure it is Power Off.
  • Now, you need to boot into Recovery Mode. To boot into Recovery Mode: Press and hold Volume Up Key, Home Button and Power key at same time for 7-10 seconds (you have to press and hold all three buttons at same time) until recovery mode is active.

    Recovery Mode on Galaxy Ace 2

  • In recovery mode, Select Apply update from external Storage using Volume Up and Down Button.

    Apply Update from External Storage

  • Now locate the Update_su.zip, that you have transferred to the phone’s external memory (In Step#3) and Press Power Button to confirm.
  • Once Flashing is completed, Select Reboot System Now.

    Reboot System Now from Stock Recovery Mode

  • Now your Samsung Galaxy Ace 2 GT-I8160 is Rooted. To check whether your phone is rooted correctly, open Applications Menu, there you will be able to see a new app installed, called SuperSU. If this app exist then it means you have successfully rooted your device.

    SuperSU Installed on Samsung Galaxy Ace 2 GT-I8160

    Optional: You can also verify the root status of your device by using the Root Checker App.

    Notes

    [*] The above tutorial helps you to root Samsung Galaxy Ace 2 GT-I8160 running on Gingerbread (2.3.6), if your device is running on Android 4.1.2 then see How to Root Samsung Galaxy Ace 2 GT-I8160 (Android 4.1.2).

    [*] No Data Loss Process: This is the zero data loss process, means you will not loose your photos, videos, music, contacts, applications and games.

    [*] Warranty Void: Your Samsung Galaxy Ace 2 GT-I8160 Warranty may be Void after following the above tutorial.

    [*] How to Unroot? To unroot Open SuperSU > Settings > Full Unroot.

    [*] Credits: Big thanks to the Ddikodroid (xda developer) for his hard work and contribution to the XDA community (for root file).