


These are instructions on how to manually install spreadtrum usb driver on windows computer (including Windows XP, Vista, Windows 7, Windows 8, 8.1 and Windows 10).
Manually install spreadtrum usb driver on windows computer
- Download and extract Spreadtrum USB Driver on your Windows Computer.

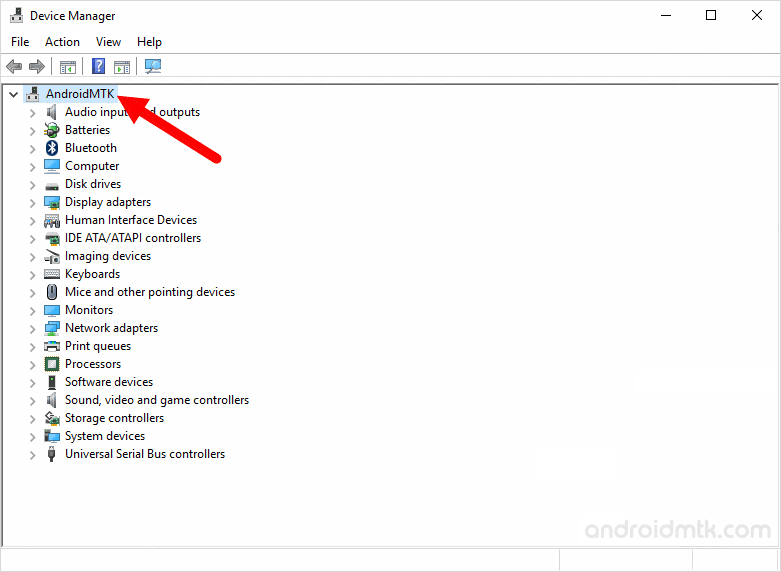
- Now, open Device Manager on your computer (to open device manager > Press Win+R to launch Run Command > In Run Command Window, Type devmgmt.msc).
- Once, device manager is launched, Click on your computer name.
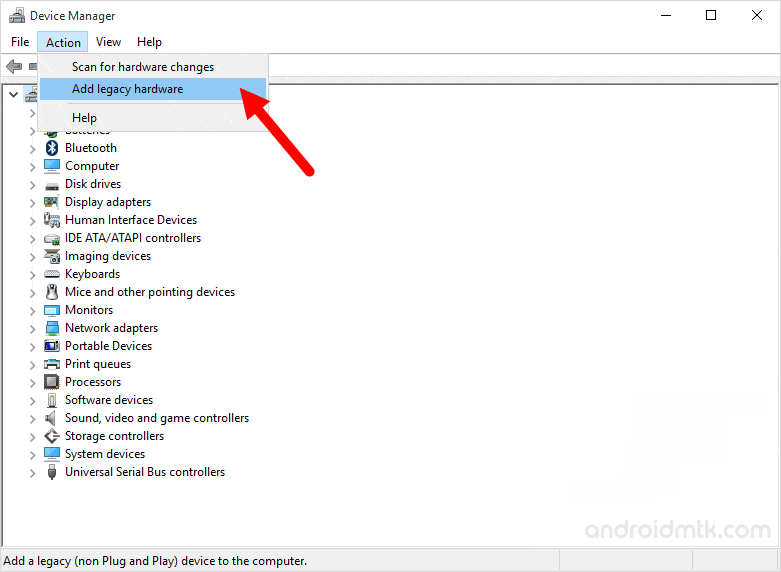
- Now, Click on Action Menu and Select Add legacy hardware.
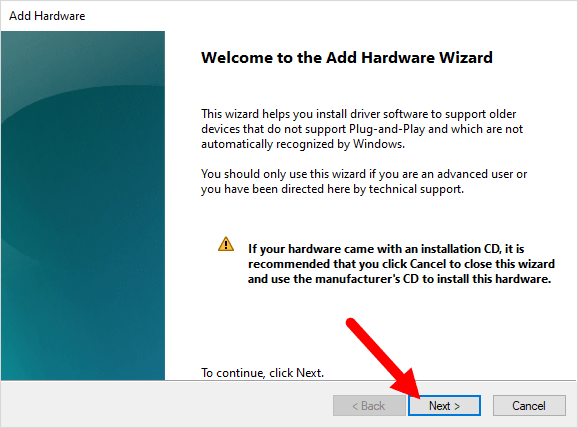
- In the Add Hardware Wizard > Click on Next to continue.
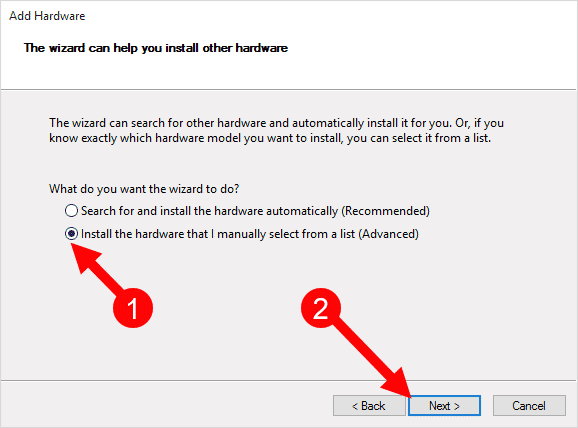
- Now, Select Install the hardware that I manually select from a list (Advanced) and click on Next to continue.
- Now, under common hardware types > select on show all devices and click Next to continue.

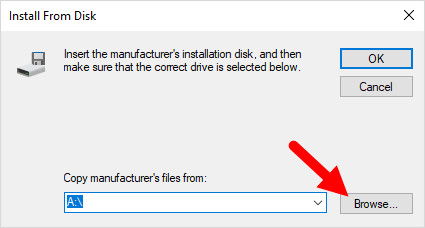
- Now, click on Have Disk and using the browse button locate the Spreadtrum Driver (SciU2S.INF).


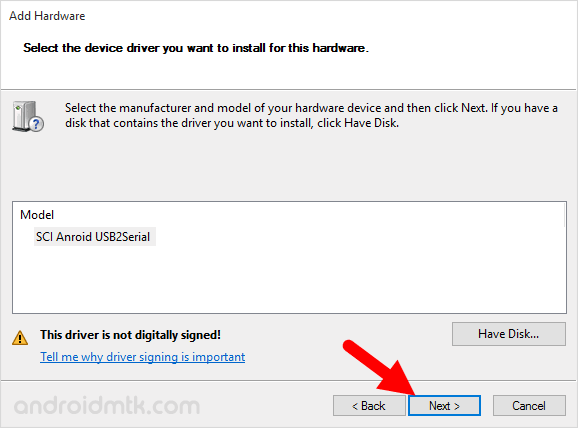
- Once your driver is listed in the blank area, click on Next to continue.
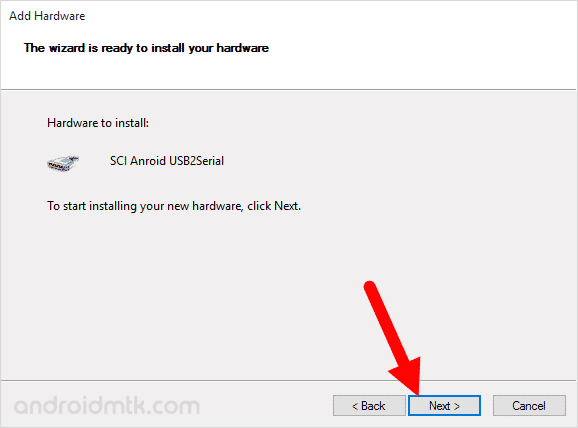
- Now, again click on Next to continue.
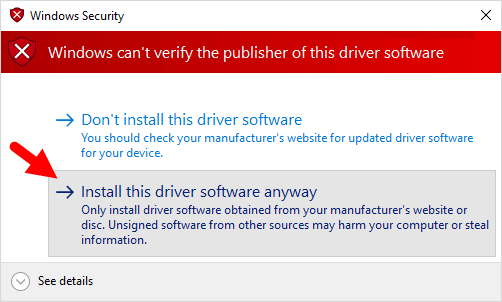
- Now, you will be able to see Windows Security Dialog Box. Under Windows Security Dialog Box, Select Install this driver software anyway.
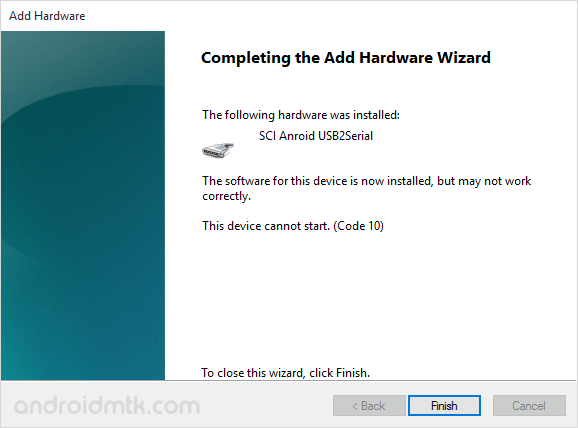
Now, the device manager will install the Spreadtrum driver on your computer (may take 1-2 minutes only).
- Lastly, Click on the Finish button to close the Add Hardware Wizard.
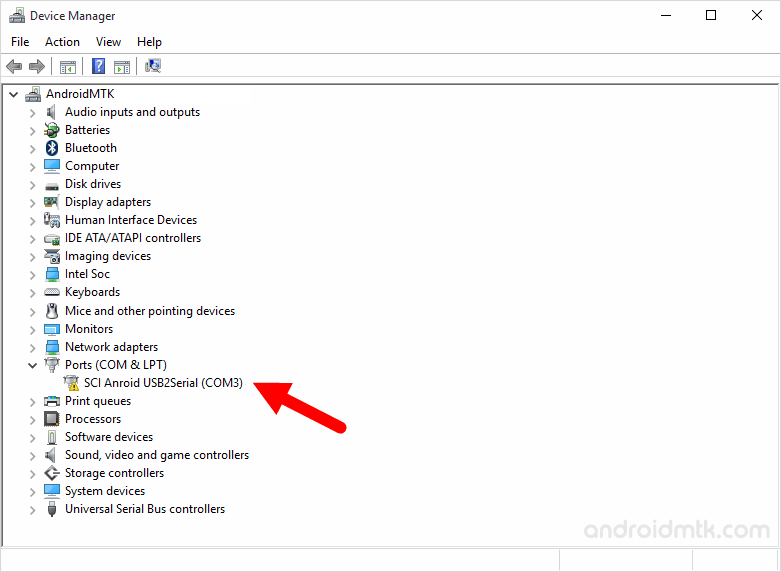
Above you can see the spreadtrum driver is installed and listed in the device manager.

Notes
Spreadtrum USB Driver is made to work on spreadtrum chipsets (spd) only. You need to install the Spreadtrum Driver to flash stock firmware using SPD Flash Tool.
Driver is not digitally signed error If you got this error then you need to fix the driver signature enforcement manually, for that see this tutorial.
Spreadtrum Drivers are tested working with WriteIMEI Tool to Flash IMEI on spreadtrum devices.
Credits: Spreadtrum driver is provided and distributed by Spreadtrum Inc Officially. So, full credit goes to them for the driver.

