


These are instructions on how to root Xolo A1000 (running on android 4.1) smartphone using the SP Flash Tool on Windows Computer.
Requirements Your Xolo A1000 Smartphone should have at least 50 percent or above battery to perform the rooting process.
Root Xolo A1000
- Download and install MediaTek Drivers on the Computer. If in case Mediatek Drivers are already installed on the computer, then SKIP this step.
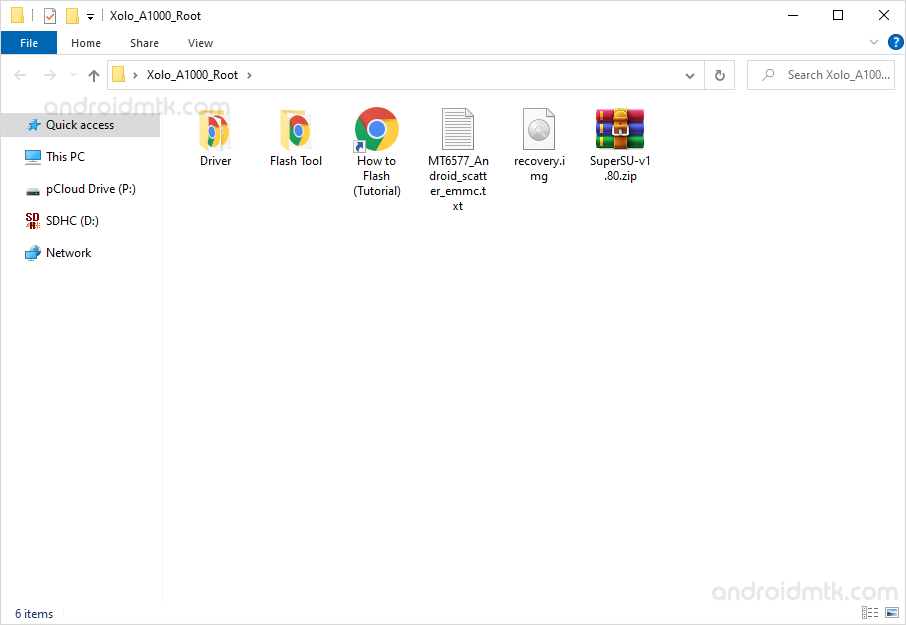
- Download and extract the Xolo A1000 root files on the computer. After extracting, you will be able to see the following files:
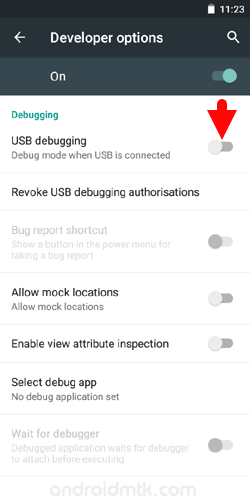
- Enable USB Debugging mode on your Xolo A1000 smartphone. To Enable USB Debugging Go to Settings > Developer Options > USB Debugging (Tick to enable it).
- Copy SuperSU.zip to your Phone SD Card or MicroSD Card.
- Power Off your Xolo A1000 Smartphone and connect it to the computer.
- Now, Open Flash_tool.exe (you have downloaded it in Step#2).
- Once Smart Phone Flash Tool is launched, Click on the Scatter-Loading button and locate the MT6577_Android_scatter_emmc.txt (you have downloaded it in Step#2).
- Once Scatter file is added in Smart Phone Flash Tool, you will be able to see a list is created. Click on the Recovery and locate the recovery.img (you have downloaded it in Step#2).
- Now, Click on the Window Menu in Smart Phone Flash Tool and select Write Memory.
- Under memory Setting, Select EMMC Button.
- Now, in Smart Phone Flash Tool click on the Open Raw Data Button and select the recovery.img (you have downloaded it in Step#2).
- Now, under the write parameter, Change the Begin Address (Hex) value to 0x1588000 and Container Length (Hex) value to 0x600000.
- Now click on the Write memory to begin the flashing process.
- Now, Boot into Recovery Mode on your Xolo A1000 smartphone. To Boot into recovery mode: Press and Hold Volume Up and Power Key at same time for 5-8 seconds until CWM recovery is enabled.
- Once you boot into CWM recovery, Select Install Zip from SDcard option and locate the Supersu.zip file (you have copied this file in Step#4).
- Once installation is completed, Select Restart System Now from Recovery Menu.
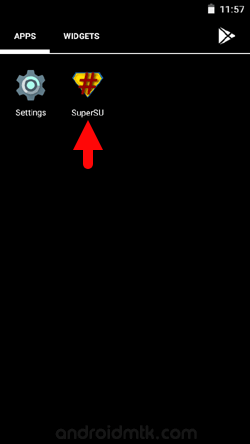
- Now your Xolo A1000 is successfully Rooted. To check whether your tab is rooted correctly, open Applications Menu, there you will be able to see a new app installed, called SuperSU. If this app exists then it means you have successfully rooted your Xolo A1000.


Step 14: Once flashing is competed, again Switch off your Smartphone (in case it restart automatically).

Optional You can also verify the root status of your device by using the Root Checker App.
Notes
No data loss process: Your Phone Data like contacts, pictures, videos, music and etc will be not affected with the above method. In short, no data loss process.
Phone Warranty If you follow the above instructions your phone warranty will be void.
Xolo Stock Firmware If you are looking for the Original Stock Firmware then head over to the Download Xolo Stock Firmware page.
Xolo USB Driver: If you are looking for the Original USB Driver, then head over to the Download Xolo USB Driver page.

