


These are instructions on how to root any Android One Devices in a click using the Android One Toolkit on Windows Computer.
Caution: Rooting the device using the Android Toolkit may delete/wipe your data. Therefore, we recommend you take a backup of your data before using the Toolkit.
Root Android One Devices in a Click
- Download and install Microsoft NET Framework 4.0 on the computer. If in case Microsoft NET Framework 4.0 is already installed on the computer, the SKIP this Step.
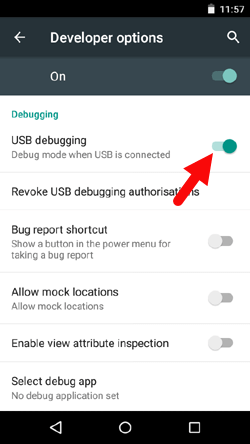
- Enable USB Debugging on your Device. To enable the USB debugging Open Settings > Developer Options > USB Debugging > Tap on the Checkbox to Enable it.
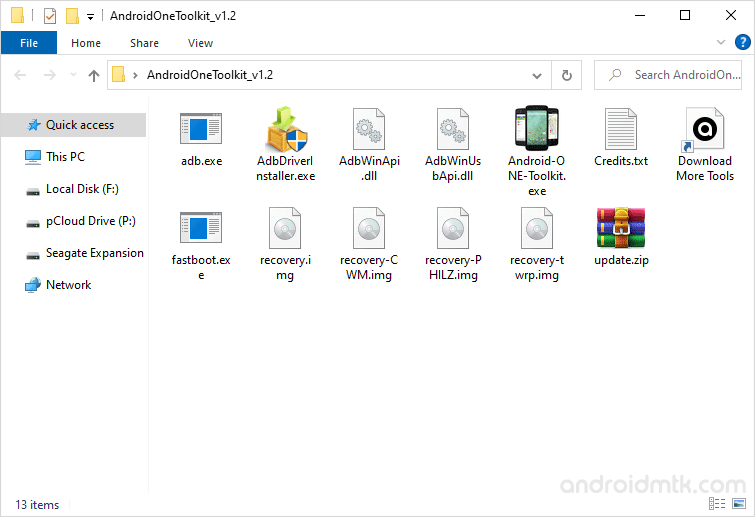
- Download and extract Android One Toolkit on the Computer. After Extracting, you will be able to see the following files:
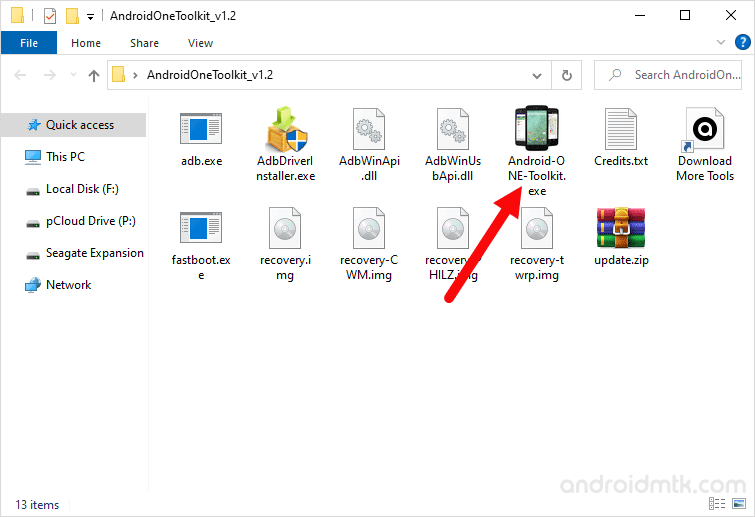
- Open Android-ONE-Toolkit.exe to Launch the Tool:
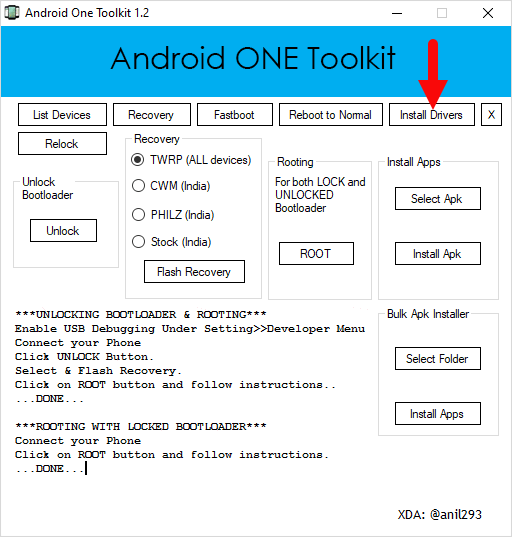
- Once Android One Toolkit is launched, Click on install drivers to install the Android USB drivers on the computer (you can SKIP this step if ADB drivers are already installed).
- Connect your Android device to the computer using the USB cable:
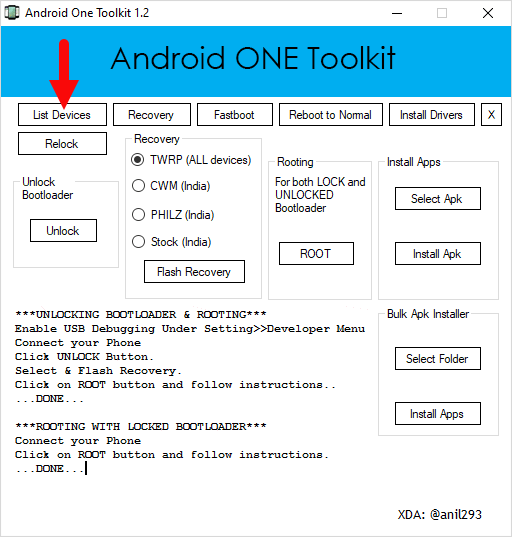
- Click on List Devices (to check whether your device is connected to the computer successfully).
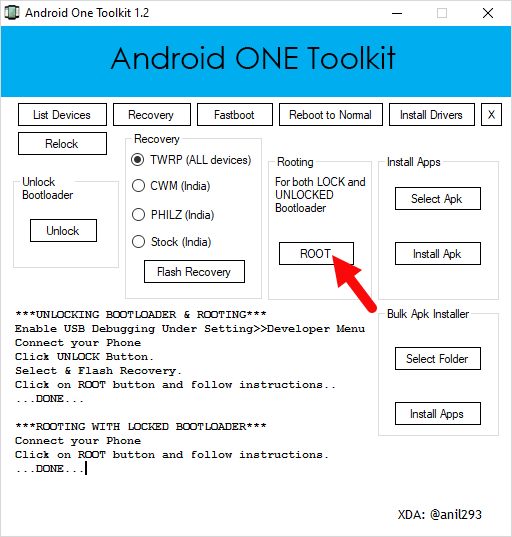
- Click on the Root button to begin the rooting process.
- Once the rooting process is completed, Disconnect your device from the computer and restart it.
- Now, in the App Drawer, you will be able to see the SuperSU icon, which confirms that your device is rooted successfully.

(Developer Options is hidden for Android 4.2.2 and above, to display this option Go to Settings > About Phone > Built Number > Tap on it for 5-8 times).


Optional You can also verify the root status of your device by using the Root Checker Application.
Notes
Backup Please take a backup of your essential data, as rooting may delete/wipe your data. Backup also help you to recover your data whenever anything wrong happens in the rooting process.
How to Unroot To unroot, Open SuperSU on your Device > Settings > Full Unroot.
Supports Android One Toolkit is capable of rooting, unlocking the bootloader, and installing custom recovery (philz and TWRP) on all the Android One devices.
Credits: The Android One Toolkit was created and distributed by anil293 (xda developer). So, full credit goes to him for sharing the tool for free.

