These are instructions on How to install the Universal ADB Driver (based on Google ADB Driver) on Windows Computer.
Install Universal ADB Driver on Windows Computer
- Download and extract the Universal ADB Driver on the computer. In in case you have already downloaded the Driver, then SKIP this step.
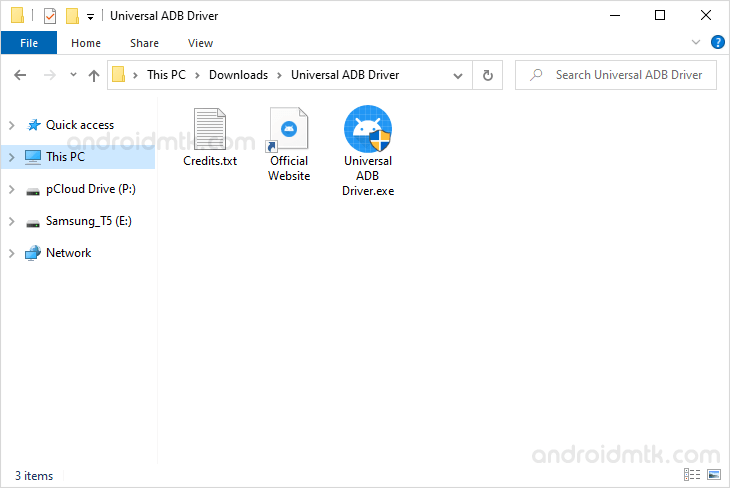
- Once the Driver package is extracted, you will be able to see the following files:
- Connect your Android Device to the computer with USB Debugging Enabled. USB Debugging can be enabled through the Phone Settings > About > Tap on the Built ID for 5-7 times.
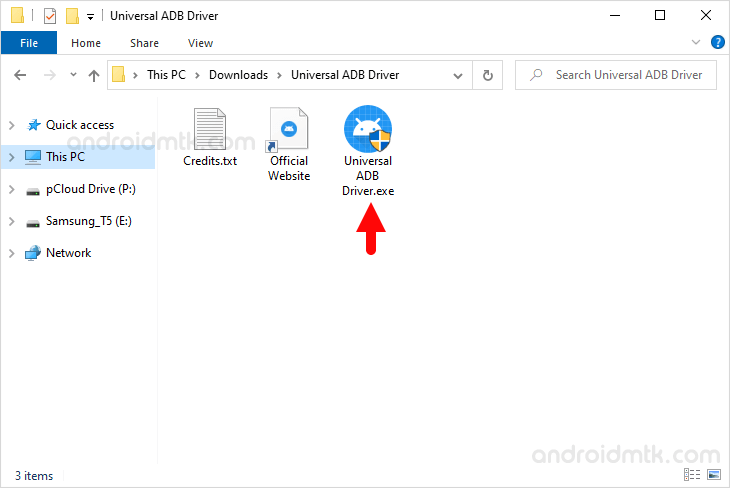
- Open Universal ADB Driver.exe file to launch the Setup:
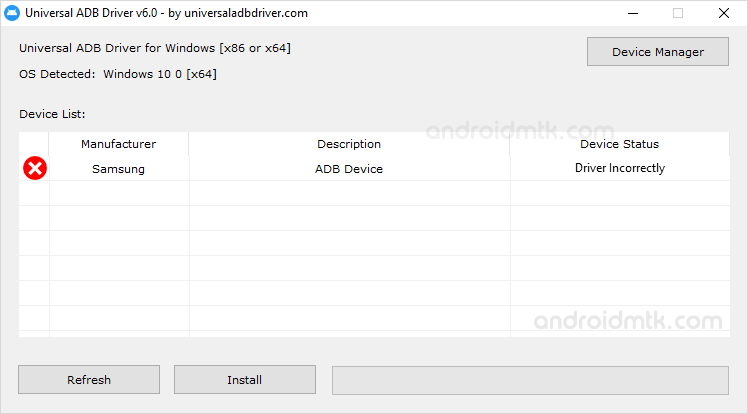
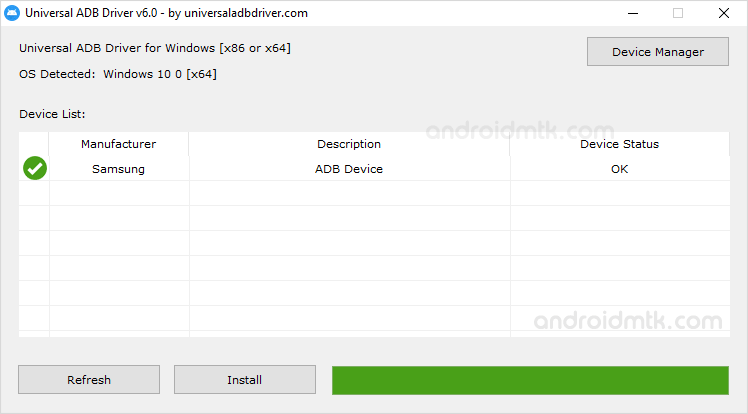
- Once the Universal ADB Driver setup is launched, it will automatically detect the connected device and display it in the device list:
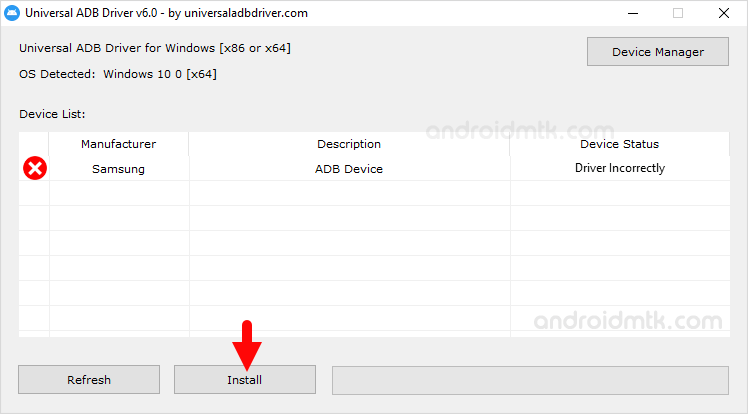
- Click on the Install button to begin the installation process:
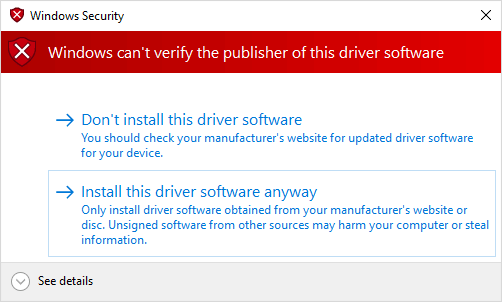
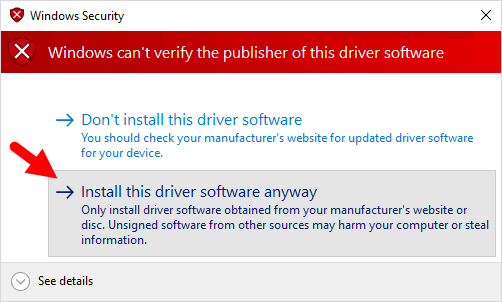
- During the installation process, you will be able to see Windows Security Dialog Box:
- Click on Install this driver software anyway to continue.
- Once, installation is completed you will be able to see the Green Tick with Green Process Bar.


Congratulations! Now Close the Setup Window and Restart the Computer. Post restarting the computer, you can connect any Android Device to the computer.
Notes
Compatibility Universal ADB Driver Setup supports Windows XP, Windows Vista, Windows 7, Windows 8, Windows 8.1 and Windows 10 (x86 or x64).
Known Bug Universal ADB Driver v1.0 Setup doesn’t detect the device if it is added after starting the setup. We have fixed the issue in v2.0 with a refresh button.
Best Alternative Although Universal ADB Driver is perfect in all sense, but there is a great alternative available to this called 15 seconds ADB installer. Besides installing the ADB driver, it also installs the fastboot files on a windows computer.
Credits: Universal ADB Driver is created and distributed by universaladbdriver.com. So, full credit goes to them for sharing the Driver for free.