


These are instructions on how to Remove or Bypass the FRP Lock (Google Account) on Samsung Galaxy J2 Pro SM-J250F Smartphone.
Remove Google Account (FRP Lock) on Samsung Galaxy J2 Pro SM-J250F
- Download and Install Samsung USB Driver on the computer. If in case Samsung USB Drivers are already installed on the computer, then SKIP this step.
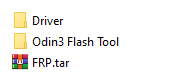
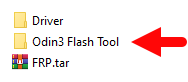
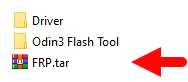
- Download and extract the FRP files on your computer. After extracting you will be able to see the following files:
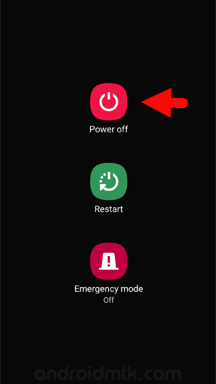
- Now, Switch off your Samsung device.
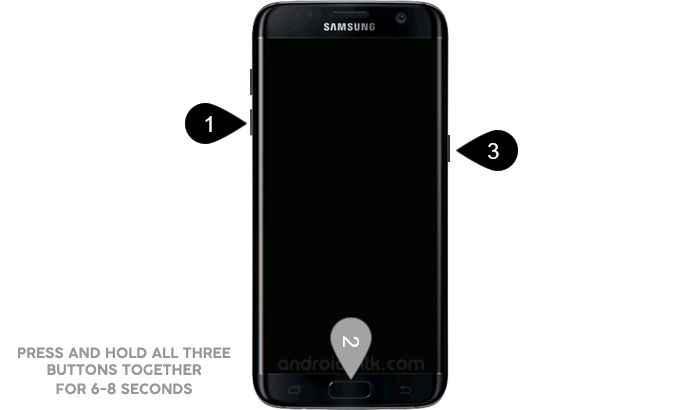
- After switching-off the phone, you need to boot the device into the Download Mode. To boot into download mode: Press and hold Volume Down, Home, and Power button at the same time for 5-8 seconds until download mode is active.
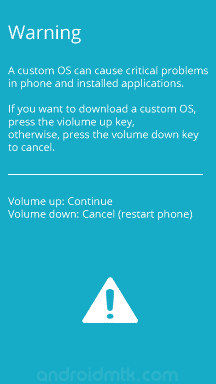
- In the Download mode you will be able to see a Warning Yellow/White Triangle Sign. In this situation you have to press the Volume Up key to Continue.
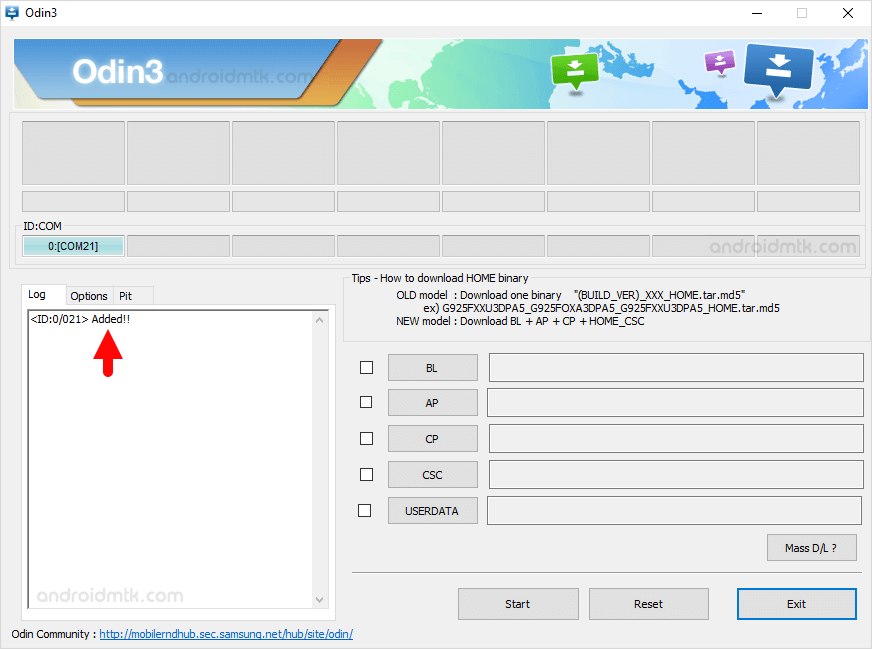
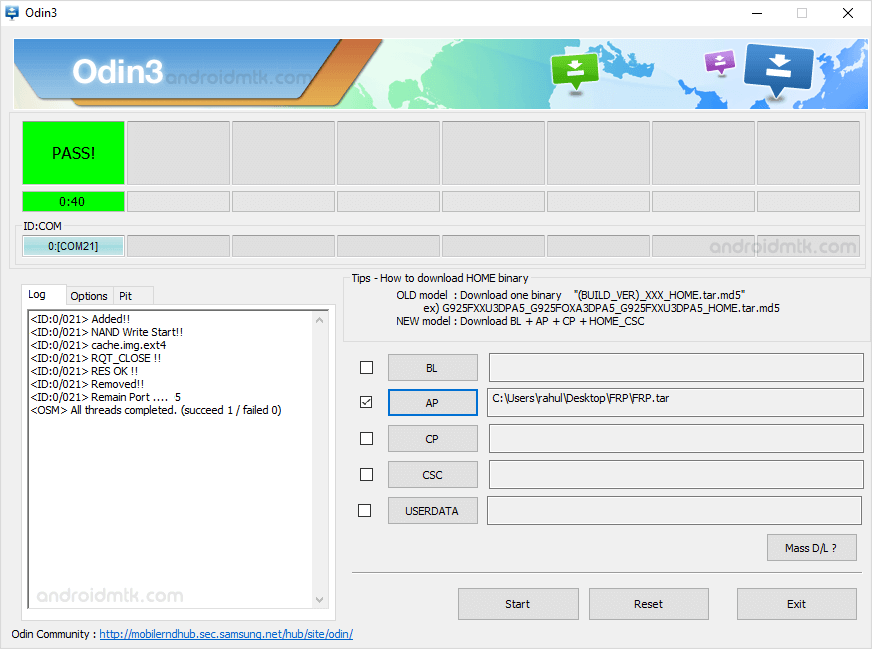
- Now, Open Odin3 (found in the extracted files, that you have downloaded in the Step#2) on your computer.
- Connect your Smartphone to the computer.
- Once you have connected the Smartphone to the computer, Odin will automatically recognize the device and displays Added message at the Log Area.
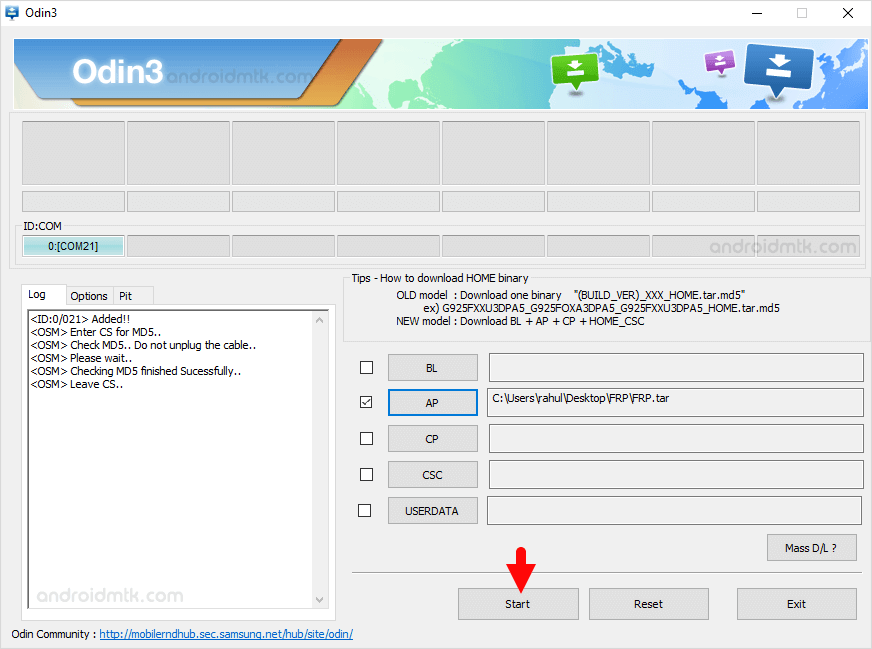
- Once your device detected by Odin, Click on the AP/PDA button and select the FRP.tar file (you have downloaded this file in step#2).
- Now, click on the Start button in Odin to begin the Flashing.
- Flashing takes up to 30-50 seconds to complete the FRP removal process on your Samsung Galaxy J2 Pro SM-J250F. Once the FRP removal process gets completed, you will be able to see a Green Box with Pass written on it. During this process, the Smartphone will re-boot automatically.
- Once you see, the Pass message in Odin, you can disconnect your Device from the computer.


Congratulations! Now, Restart the device and post restarting the device, you won’t be facing the FRP Lock (Google Account) on the device.
Notes
Samsung PC Suite If you are looking for the official PC Suite Application for Samsung Devices, then head over to Download Samsung Smart Switch page.
Samsung Stock Firmware: If you are looking for the original firmware for your device, then head over to Download Samsung Stock Firmware page.
Samsung USB Driver: If you are looking for the original USB Driver for your device, then head over to Download Samsung USB Driver page.
Credits: The FRP file used above is shared by our reader Dinesh. So, full credit goes to him for sharing the file for free.

