


These are instructions on how to root Nokia X, X+, and XL using the Nokia X Manager Application.
Requirements Your Nokia X, X+, and XL smartphone should have at least 10-20 percent of phone battery to perform the rooting process.
Root Nokia X, X+ and XL
- Enable USB Debugging on your Smartphone. To enable USB debugging, Open Settings > Developer Options > USB Debugging > Tick to Enable.
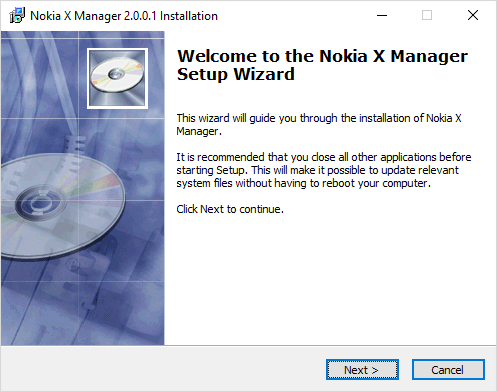
- Download and install Nokia X Manager on your Windows Computer. Once Nokia X Manager is installed successfully, Open It.
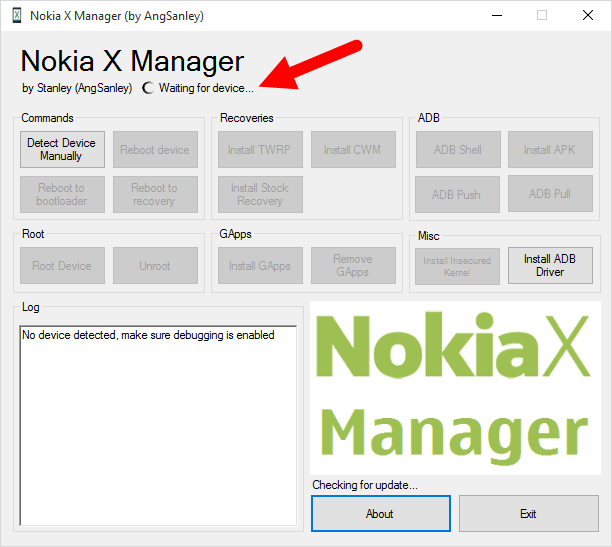
- Once Nokia X Manager is launched, you will be able to see the “Waiting for device” message on the top.
- Connect your Nokia X, X+ or XL smartphone to the computer using the USB cable.
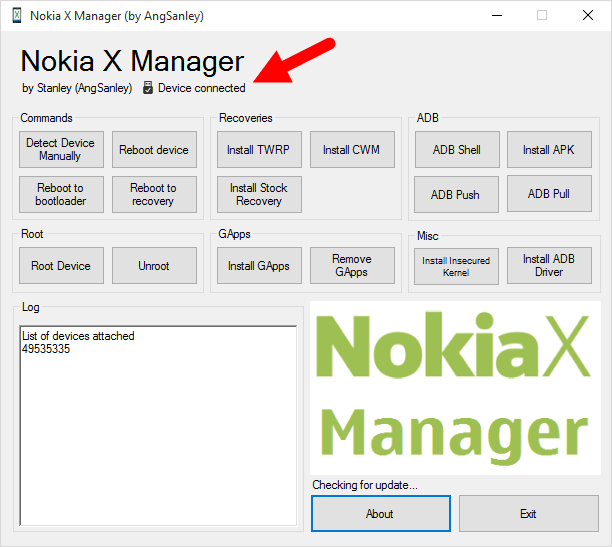
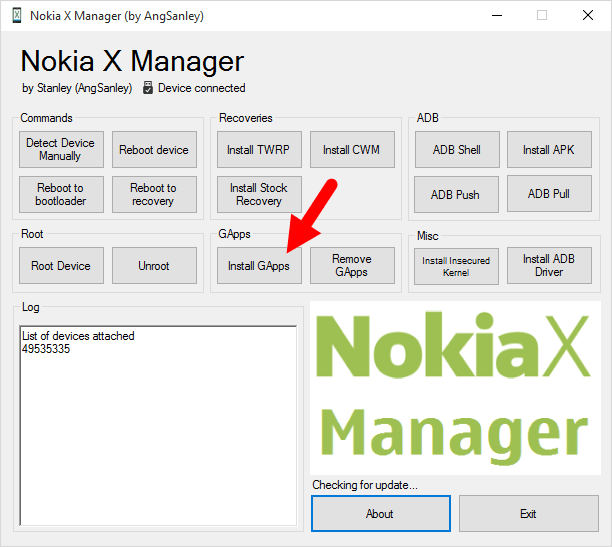
- Now, In Nokia X Manager you will be able to see “Device Connected” message.
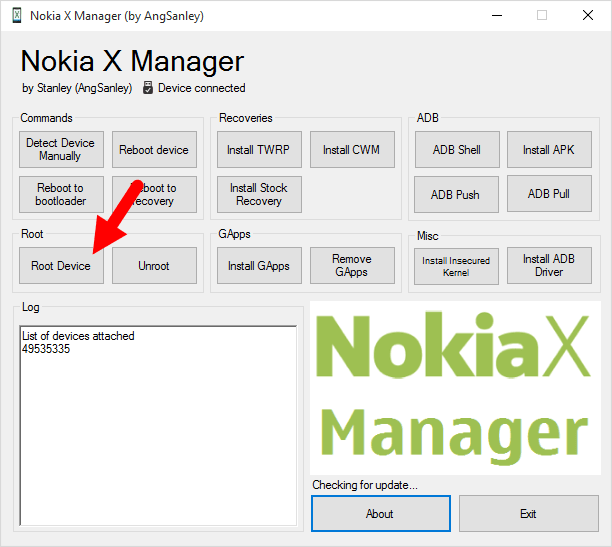
- Click on the Root Device button to begin the rooting process. During the rooting process, your smartphone will reboot automatically.
- Once, rooting process is completed you will b able to see the SuperSU icon in the App Menu of your device.
- Now, In the Nokia X Manager, click on the “Install Gapps” button to flash the Google applications on your device (that induces Google Play Store, etc.).
- Once Gapps is flashed successfully, disconnect your smartphone from the computer and close the Nokia X Manager Application.
- Now, restart your Nokia X, X+ or XL smartphone. After restarting the device, you will see the Google Play Store and other Google App installed on the device.


Notes
No data loss process: Your Nokia X, X+ or XL Phone Data like contacts, pictures, videos, music and etc will be not affected with the above method.
Warranty Void Your Nokia X, X+, or XL Device Warranty may be Void after following the above tutorial.
How to unroot To unroot your Device, Open Nokia X Manager and connect the smartphone to the computer > Click on the Unroot button.
Credits: Nokia X Manager Application was created by Angsanley (XDA Developer). So, full credit goes to him for sharing the tool for free.

